


SEW QUAINT CLUB
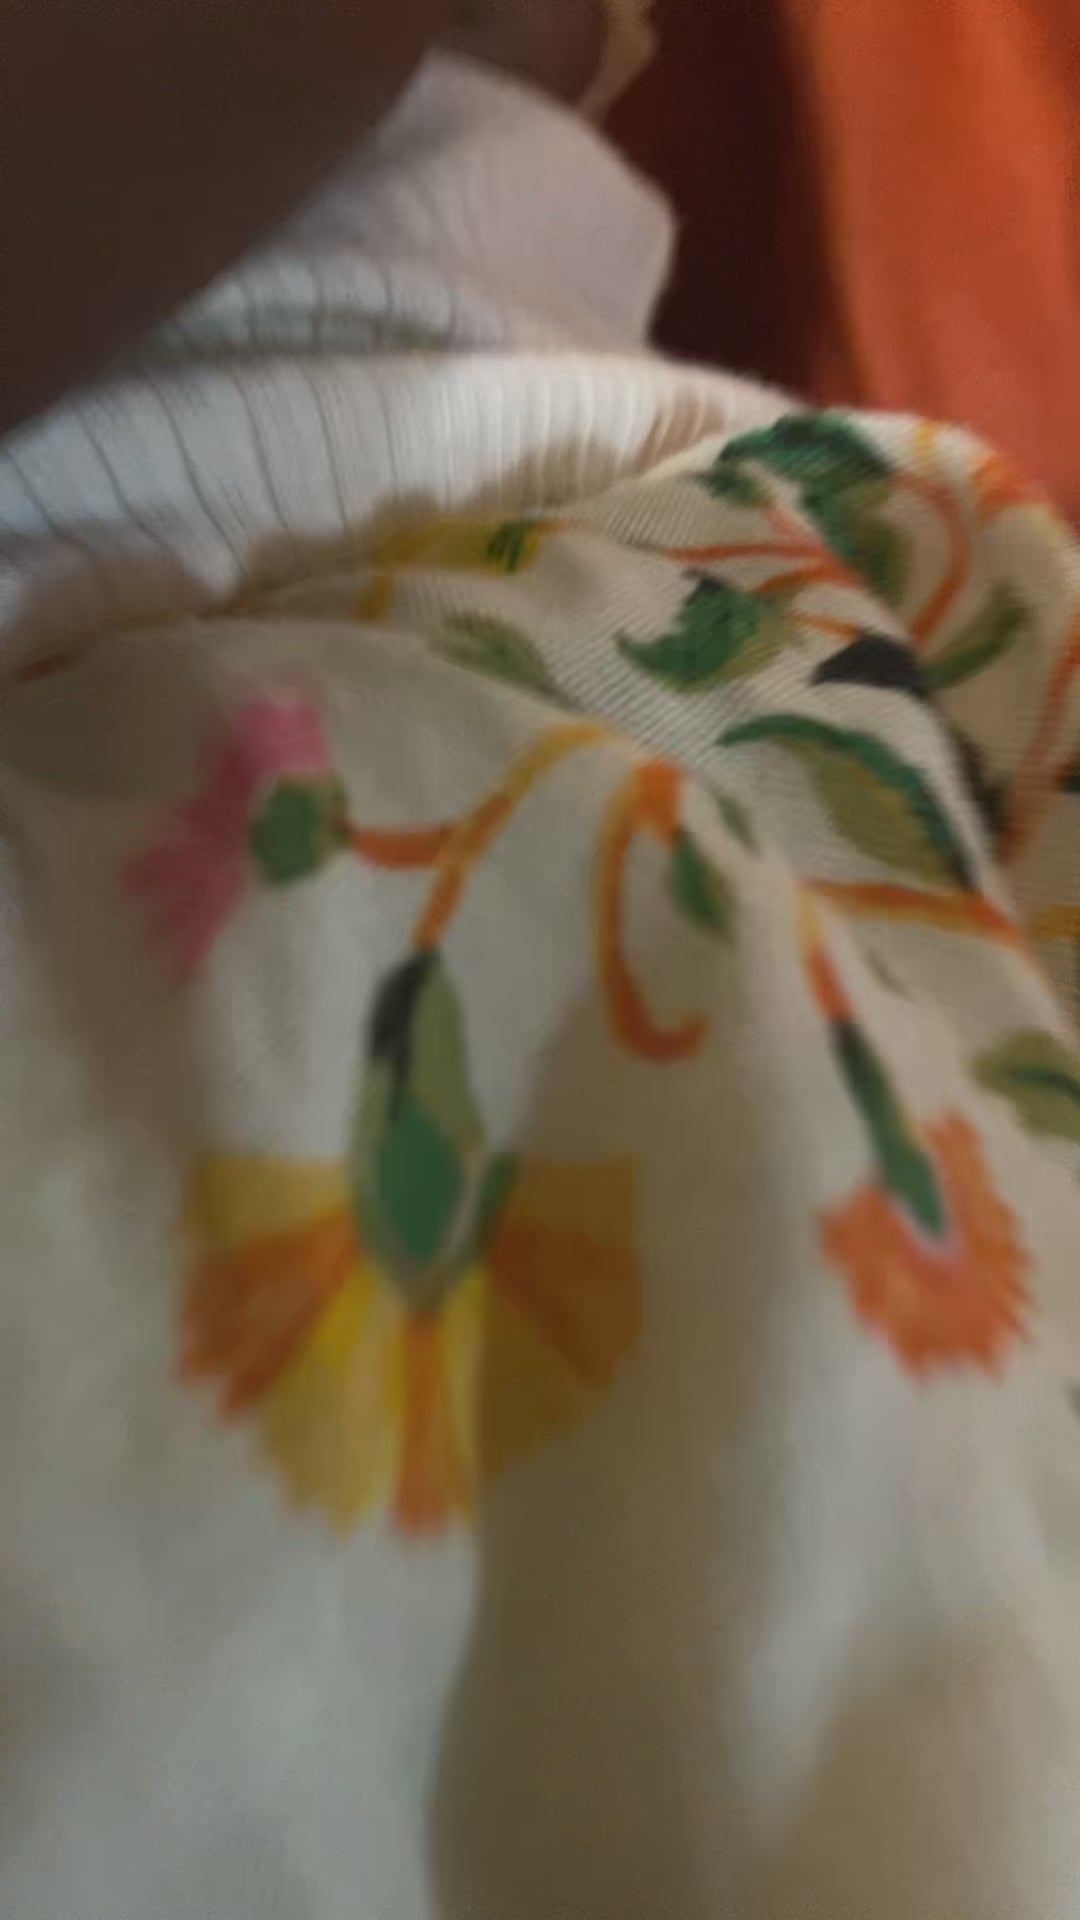
Nursing Pillow / Curved Pillow PDF Sewing Pattern
Nursing Pillow / Curved Pillow PDF Sewing Pattern
Couldn't load pickup availability
Say goodbye to the back and shoulder pain that comes with nursing and hello to unlimited comfort. This pillow has made feeding my baby so much easier. I wish I made it sooner. Watch this tutorial to learn how to make one for yourself or for a mom who needs it - https://youtu.be/XAX_KVVw7yw
Benefits of this pillow:
- Say goodbye to back, neck and shoulder strain. This pillow can make breastfeeding comfy for you and your baby.
- It supports your arms to prevent the pain that comes with holding your baby up for an extended period of time.
- It promotes good posture. Since breastfeeding sometimes causes you to hunch over, it can create bad posture but this pillow holds your baby up to you so there’s no need to hunch over.
- If you had a c-section, this pillow can keep the pressure off your incision site. Your baby will be supported without pressing against your belly.
- It’s a cool chill spot for your baby. It’s so soft and gushy that your baby can lay or sit in it while you wear it around you.
- It can help your baby to practice sitting up. It’s thick enough to support their back which is essential in sitting up. With regular pillows, your baby can fall over to the sides but with this pillow, your baby is cushioned on both sides.
- You can be hands-free while your baby is still safely cradled by the pillow. You can eat, use your phone or computer, write, crochet, knit, etc. while your baby is comfy.
How to assemble this pattern:
1. This pattern has a total of 12 pages.
2. Print them at the actual size on letter size paper.
3. Cut the right margin off pages A1, A2, A3, B1, B2, B3, C1, C2, C3 and overlap them by rows. You will have three rows. Row A, B & C. Use tape, glue or stitcheds to join them together.
4. Trim the bottom margin off row A and B. Overlap the bottom margin of row A with the top margin or row B and the bottom row of row B with the top margin of row C using tape, glue or stitches.
5. Cut out the three pattern pieces: the body, border and placket or the nursing pillow.
6. Watch the corresponding sewing tutorial to learn how to sew the pillow together and join my Patreon for an exclusive printable instruction sheet.


More outfits
-
 Sold Out
Dandelion Dress
Regular price $215Regular price -
Dandelion Jumpsuit
Regular price $150Regular price -
 Sold Out
Morocco Monokini
Regular price $55Regular price -
 Sold Out
Rock Me Baby Afrokini
Regular price $100Regular price


